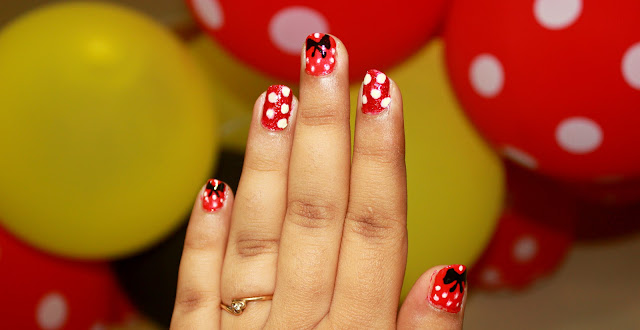
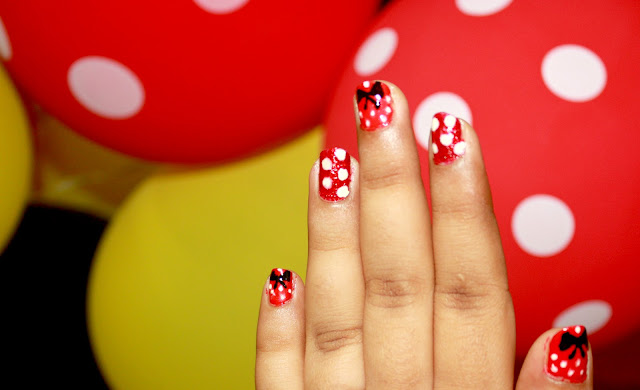
I
& my Lil’ one are true Disney Minnie Mouse fan and thus it had to be
her birthday’s theme this year. So I
thought to do a cute adorable Minnie Mouse manicure in some very easy steps!
Wondering
about My inspiration for this Minnie mouse nails? Check my baby’s birthday cake below!!!
Nail Polish Used
·
Cuccio Nail Polish Manhattan Mayhem
Glitter Red
·
Oriflame The ONE Long Wear Nail Polish -
Red Sky at Night
·
White & black nail art pens
Let’s check how I created this easy Minnie Mouse mani in these
simple steps:
1. Apply
a base coat.
2. Apply
2 coats of red nail polish on the thumb, middle and little finger (for the bow
and tiny polka dots to be visible nicely). Now Polish index & ring finger with
2 coats of glittery red polish.
3. Let
the nails dry properly, using a white nail art pen do polka dots & black
ones to do make Minnie bow. Take care to keep a good space between dots.
4. I
have done large white polka dots on glittery nail and tiny dot on the plain red
nail. You are free to use your imagination!!!
5. After
drying, cover these with top coat.
Don’t forget to leave your comments below if you like this
Minnie Mouse Nail Art! Also share your imagination and creative side in the box
below!!!


No comments:
Post a Comment